How to Add Emojis to Fake Chat Video: A Step-by-Step Guide
Learn how to add emojis to fake chat video to make your content more engaging and expressive. Follow our step-by-step guide to enhance your storytelling.

Estimated reading time: 8 minutes
Key Takeaways
- Fake chat videos mimic real messaging apps to engage viewers.
- Emojis add emotion, pacing, and visual interest.
- Editing tools like CapCut, Canva, Clipchamp, and ClipGOAT each offer unique features.
- Step-by-step workflow: choose tool, set up interface, import, place, animate, and customize.
- Best practices: limit emojis, maintain consistency, test across devices.
Table of Contents
- Understanding Fake Chat Videos
- Tools and Platforms to Create Fake Chat Videos
- Step-by-Step Guide: How to Add Emojis to Fake Chat Videos
- Creative Tips and Best Practices
- Conclusion
- Additional Resources
- FAQ
Introduction
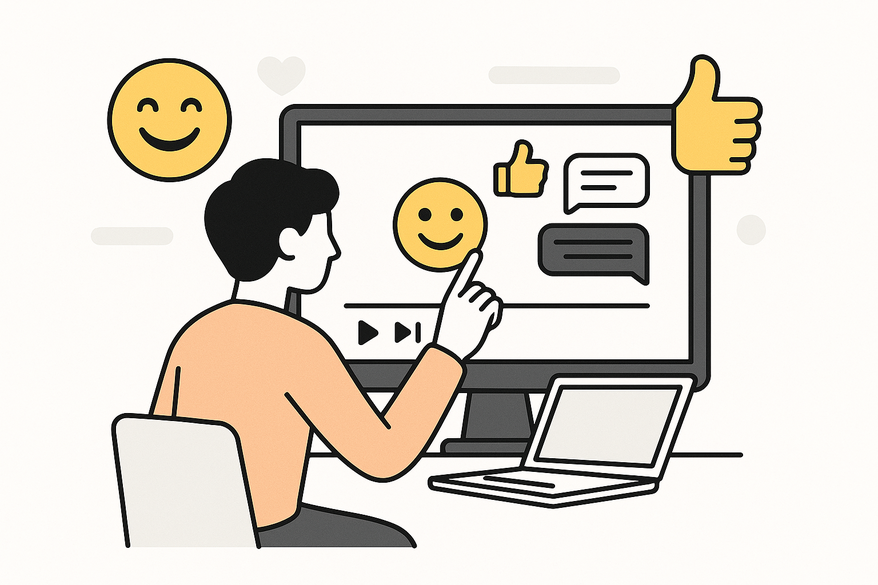
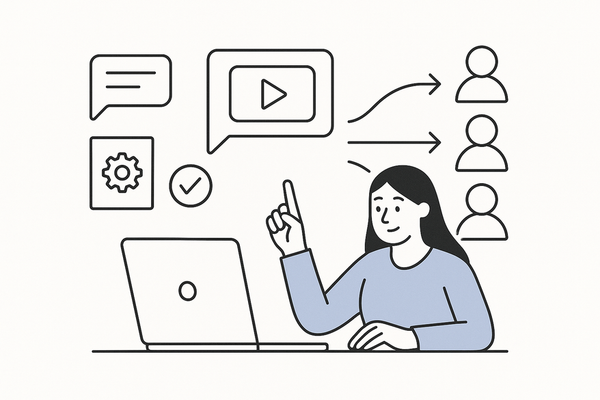
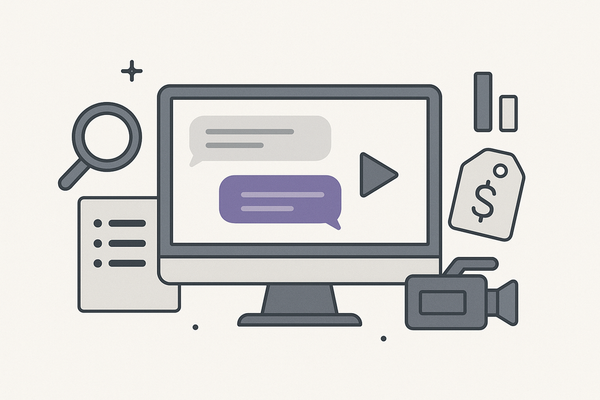
Adding emojis to fake chat videos boosts visual appeal, emotional impact, and viewer engagement. Fake chat videos—clips that simulate messaging app conversations with on-screen text bubbles, character names, and effects—have surged in popularity on TikTok, YouTube, and Instagram. By learning how to add emojis to fake chat videos, you can make your stories funnier, more relatable, and shareable. For creative conversation ideas, see texting story ideas guide.
Understanding Fake Chat Videos
- Videos that mimic real messaging apps (iMessage, WhatsApp, Messenger) using on-screen bubbles and avatars.
- Used by content creators for humor, narrative scenes, or explaining digital topics.
- Offer a familiar UX for viewers—readable bubble layout, typing indicators, time stamps.
The Role of Emojis
- Add personality and tone: 😊 conveys friendliness; 😱 signals surprise.
- Act as visual reactions or replacements for words (👍 instead of “OK”).
- Enhance pacing: quick emoji pops can emphasize punchlines or dramatic moments.
- Strengthen retention: colorful icons break text monotony and guide the eye.
Tools and Platforms to Create Fake Chat Videos
Below are four top editors for making fake chat videos and adding emojis:
- CapCut (for advanced users)
• Import or record chat screen mockups.
• Built-in sticker & emoji library, “pop,” “fade,” and “slide” animations.
• Timeline keyframe controls for precision.
• Supports 4K export and transparent background overlays.
• Source: CapCut Texting Video Maker Guide - Canva (for beginners)
• Pre-made chat templates (iOS/Android style).
• Drag-and-drop emoji/sticker assets.
• Simple animation timeline: fade, rise, slide.
• Collaboration features and cloud storage.
• Source: Canva tutorial - Clipchamp (for quick edits)
• Drag-and-drop PNG emojis or stickers.
• Integrated GIPHY library for trending GIF reactions.
• Adjustable timeline duration and easing curves.
• Direct social sharing to YouTube or TikTok.
• Source: Clipchamp tutorial - ClipGOAT (for chat generation)
• Auto-generate chat interface with avatars, names, messages.
• Export to CapCut or Clipchamp for emoji enhancement.
• Saves time on layout design; ideal for scripts.
• Source: CapCut guide
For a complete comparison of top apps, see Best Fake Chat Video Maker and check out advanced editing techniques in Chat Video Editing Tips.
For an all-in-one fake chat video maker with AI-generated scripts, automated voiceovers, and built-in emoji/sticker options, check out Vidulk - Fake Text Message Story App.
Step-by-Step Guide: How to Add Emojis to Fake Chat Videos
Follow these six steps to seamlessly add emojis to your fake chat videos.
- Choose the Right Tool
Criteria: built-in emoji/sticker library, ease of use, animation controls, export quality.
Beginner-friendly: Canva or Clipchamp.
Advanced animation: CapCut with keyframe precision.
Sources: Clipchamp tutorial, CapCut guide - Set Up Your Fake Chat Interface
Open your chat maker (e.g., ClipGOAT, Canva).
Select platform style: iOS (blue/grey bubbles) or Android (green/white bubbles).
Add contact names, profile pictures, timestamps.
Input messages in logical order; mimic real typing speeds using “typing” indicators.
Tip: Use consistent font (e.g., San Francisco for iOS) to boost authenticity.
Source: Canva tutorial - Import or Create Emojis
Option A: Use built-in sticker/GIPHY library.
Option B: Download high-resolution PNG emojis from OpenMoji or Flaticon.
Ensure transparent backgrounds (PNG) and ≥300 DPI for retina displays.
Rename files logically (e.g., heart.png, laugh.png) for easy selection.
Source: Emoji import guide - Place Emojis in Relevant Chat Parts
Drag & drop emojis near message bubbles as inline reactions.
For full-screen reaction: position emoji centrally with slight scale up (150–200%).
In-bubble insertion: place emoji at end of text, resize to about 16×16–32×32 px.
Alignment tip: Match bubble text baseline to emoji bottom for visual harmony.
Source: Canva tutorial - Adjust Timing and Animation
In timeline panel, set entrance animation: “pop” for quick reactions, “fade” for subtle.
Sync with message appearance: delay ~0.1s after text pops in.
Duration: 0.3–0.5 seconds for a natural feel.
Use easing curves (ease-in, ease-out) to smooth motion.
Preview on 0.5× speed to catch timing mismatches.
Source: Canva tutorial - Customize Chat Design
Check emoji color vs. bubble color: adjust hue/saturation if jarring.
Match emoji scale: maintain consistent icon height ~80–100% of text line height.
Add a slight blur or dark overlay to the background to make emojis pop.
Test on mobile vs. desktop viewports for placement accuracy.
Source: Design tips
Creative Tips and Best Practices
- Use emojis as real-time reactions: 👍 for approval, 😆 for jokes, 😢 for sad turns.
- Replace key words with icons: ❤️ for “love,” 😂 for “LOL,” 🔥 for “amazing.”
- Limit to 1–2 emojis per message to avoid visual clutter.
- Maintain size consistency: choose 16–24 px height for inline emojis.
- Ensure color harmony: pick emojis with a dominant hue that complements bubble colors.
- Test placements on multiple device resolutions to catch cropping or overlap issues.
Troubleshooting
- Pixelation: swap to ≥300 DPI PNGs or SVG icons.
- Timing issues: fine-tune keyframes and delays in your editor’s timeline.
- Misalignment: use grid or ruler guides to snap emojis to bubble edges.
Conclusion
Mastering how to add emojis to fake chat videos transforms plain text bubbles into dynamic, emotion-packed scenes. Well-placed emojis make your fake chat videos more engaging, expressive, and shareable. Experiment with different styles, animation effects, and placements to discover what resonates with your audience. Start now, share your creations on social media, and invite feedback to refine your technique.
Additional Resources
- How to add emojis to a video using Clipchamp
- Chat-Style Video Animation in Canva tutorial
- OpenMoji free emoji PNG packs
- Flaticon transparent icons
- CapCut Texting Video Maker Guide
FAQ
What tools are best for adding emojis to fake chat videos?
For beginners, Canva and Clipchamp offer intuitive drag-and-drop emoji libraries and simple animation timelines. Advanced creators can leverage CapCut’s keyframe controls and ClipGOAT’s auto-generated chat layouts.
How many emojis should I use per message in a fake chat video?
Limit to one or two emojis per message to maintain readability and avoid clutter. Focus on placement and timing for maximum impact.
How do I ensure emoji animations are timed perfectly?
Sync entrance animations (pop, fade) with the message appearance using a slight delay (around 0.1 seconds). Preview at half speed to catch any mismatches and adjust easing curves for smooth motion.
What if emojis appear pixelated or misaligned?
Use high-resolution PNGs (≥300 DPI) or SVGs to prevent pixelation. Align emojis with bubble text baselines and use grid/ruler guides in your editor to snap elements precisely.
Can I use custom emoji designs in my videos?
Yes. Download or design custom PNG emojis with transparent backgrounds, rename them for easy selection, and import them into your editor’s asset library. Ensure matching style and resolution for consistency.


