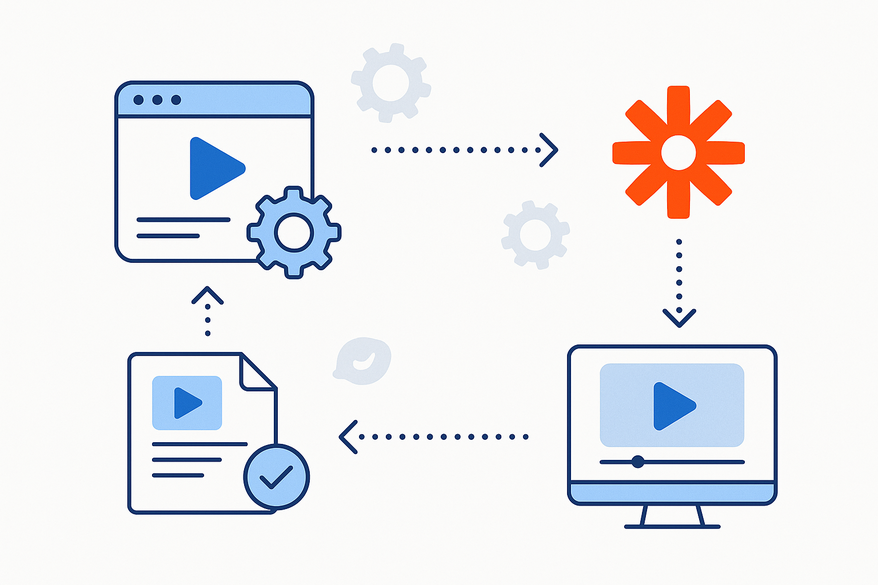
How to Automate Vidulk Clips with Zapier
Automate your Vidulk clips with Zapier to streamline video management tasks, increase productivity, and ensure consistent processing and publishing.
Estimated reading time: 7 minutes
Key Takeaways
- Streamline workflows by integrating Vidulk with Zapier to automate clip processing, publishing, and notifications.
- Flexible triggers via native integrations or Webhooks by Zapier support both simple and complex automation scenarios.
- Multi-step Zaps enable uploading to cloud storage, sending Slack alerts, and auto-transcribing clips in one flow.
- Advanced tools like filters, delays, and formatters let you refine logic based on tags, timestamps, or metadata.
- Best practices include clear Zap naming, monitoring task usage, securing API keys, and archiving unused workflows.
Table of Contents
- Overview of Vidulk and Zapier
- Prerequisites & Account Setup
- Connecting Vidulk to Zapier
- Creating Your First Zap for Vidulk Clips
- Use Cases & Practical Examples
- Advanced Workflow Tips
- Troubleshooting Common Issues
- Best Practices for Efficient Integrations
- Conclusion & Next Steps
Overview of Vidulk and Zapier
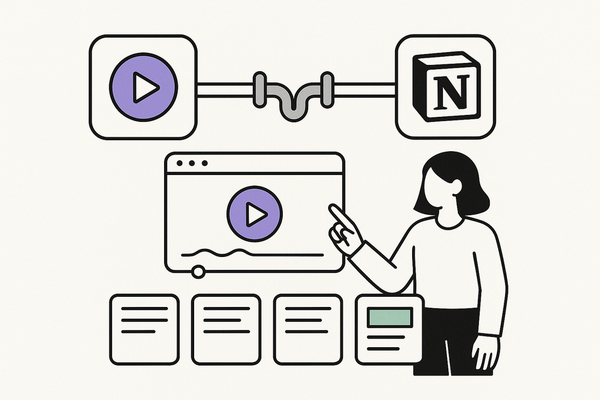
What is Vidulk?
• Vidulk is a video-clip management platform.
• AI-driven highlight detection auto-generates captions and organizes your content.
• Use cases include sports highlight reels, e-learning snippets, and marketing video assets.
What is Zapier?
• Zapier is a no-code automation tool connecting over 5,000 apps.
• It uses “Zaps”—workflows made of triggers (events) and actions (tasks).
• Zapier supports conditional logic, filters, and multi-step automation for complex processes.
Top Benefits of Integrating Vidulk + Zapier
• Instant Clip Processing: Auto-transfer new or updated clips to cloud storage.
• Automated Publishing: Post highlights directly to social platforms.
• Streamlined Notifications: Alert teams via Slack, email, or Microsoft Teams.
• Consistent Workflows: Eliminate manual errors and maintain brand standards.
Learn more about setting up your own Vidulk Zapier workflows.
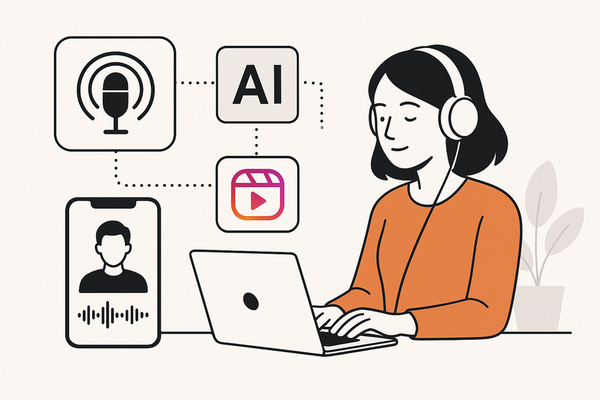
For additional inspiration, check out this guide on AI video clip automation.
Prerequisites & Account Setup
- Vidulk Account Setup
• Go to Vidulk.com → Sign up or log in.
• Verify your email address.
• In the dashboard, click Settings → API & Integrations.
• Copy your API Key (with read/write clip scopes). - Zapier Account Setup
• Visit zapier.com → Sign up for free or log in.
• Optional: Upgrade for multi-step Zaps or premium features. - Required Permissions
• Vidulk: API key with clip creation and update scopes.
• Zapier: Access to Webhooks by Zapier if native Vidulk support is unavailable.
Connecting Vidulk to Zapier
Option A: Native Integration
- In Zapier Dashboard → My Apps → Search “Vidulk.”
- Click Connect, paste your Vidulk API key, and test the connection.
Option B: Webhooks by Zapier
- In Vidulk dashboard → Settings → Webhooks → Add endpoint.
- In Zapier, click Create Zap → Trigger: Webhooks by Zapier → Catch Hook.
- Copy the generated webhook URL → Paste into Vidulk → Save.
- Test by creating a dummy clip in Vidulk → Confirm Zapier receives sample payload.
Creating Your First Zap for Vidulk Clips
Follow three main steps to build your first Clip Automation Zap.
Step 1: Trigger Configuration
- Trigger App: Vidulk (or Webhooks by Zapier).
- Event: New Clip Created (or incoming webhook).
- Test trigger to see sample data: Clip ID, URL, title, duration.
Step 2: Action Configuration
Example 1 – Upload to Google Drive
- App: Google Drive → Action: Upload File.
- Map Fields:
- File URL → Clip URL
- File Name → {{Clip Title}}.mp4
- Folder Path: /Vidulk-Clips/
Alternative Actions
- Publish to Dropbox via a Dropbox integration video.
- Send Slack notification → Channel: #video-alerts → Message: “New Vidulk clip: {{Clip Title}}.”
- Auto-transcribe via Otter.ai → Store transcript in Google Docs (see workflow example).
Step 3: Test & Activate
- Run a test → Verify the clip arrives in your target app (Drive, Slack, etc.).
- Name your Zap clearly, e.g., “Vidulk → Google Drive Clip Upload.”
- Toggle the Zap on.
Use Cases & Practical Examples
- Auto-upload Clips to Cloud Storage
Trigger: New Vidulk clip.
Action: Save to Dropbox or Google Drive.
Benefit: Centralized backup for search and retrieval. - Auto-post Highlights to Social Media
Trigger: Clip marked “highlight” in Vidulk.
Action: Post to Twitter or YouTube via Zapier. - Auto-transcribe or Translate Clips
Trigger: New clip.
Action: Send to Otter.ai via Webhooks, then store transcript in Google Docs.
Benefit: Text-based archiving and translation workflows.
Source: Zapier community example. - Automated Team Notifications
Trigger: Clip duration > 60 seconds.
Action: Send email summary or Slack alert with clip details.
Advanced Workflow Tips
- Filters by Zapier
Process only clips with specific tags (e.g., “promo,” “webinar”).
Example: Only auto-publish clips marked “public.” - Formatter by Zapier
Rename file names, extract or reformat timestamps from clip metadata.
Example: Convert “00:01:23” to “1m23s” for file naming. - Delay by Zapier
Schedule actions to occur hours or days after clip creation.
Example: Post clip to social 24 hours after processing. - Multi-step Zaps
Chain actions: upload to Drive → notify Slack → update a Google Sheet.
Benefit: Consolidate multiple tasks into one streamlined workflow.
Troubleshooting Common Issues
- Trigger Not Firing
Verify your webhook URL is correct in Vidulk settings.
Check Zap history for errors or missing payloads. - Authentication Errors
Ensure your Vidulk API key is active and not revoked.
Re-connect Vidulk in Zapier if tokens have expired. - Field Mapping Errors
Confirm field names in sample payload match your action step mappings.
Use Formatter to convert data types (text ↔ number). - Action Failures
Check rate limits on Google Drive/Dropbox for file uploads.
Inspect Zap run logs for error codes and retry logic.
Best Practices for Efficient Integrations
- Name & Organize Zaps Clearly — Use consistent naming: “Vidulk – Drive Backup – Daily.”
- Monitor Usage & Task Limits — Regularly review your Zapier dashboard for task counts.
- Review Zap History — Look for warnings, slow steps, and failures.
- Archive or Disable Unused Zaps — Keep your workspace clean and reduce confusion.
- Document Workflows — Share step-by-step guides or screenshots with your team. Include security notes on API key handling and data privacy.
Conclusion & Next Steps
Automating your Vidulk clips with Zapier transforms time-consuming manual tasks into reliable, scalable workflows. You gain speed, consistency, and accuracy across clip processing, publishing, and notifications. Now it’s your turn: set up at least one Zap following this guide and watch your productivity soar.
Call to Action
Start automating your Vidulk clips with Zapier today and reclaim hours of manual work every week!
FAQ
- What permissions are needed to connect Vidulk with Zapier?
- You need a Vidulk API key with clip creation and update scopes, plus access to Webhooks by Zapier if native support isn’t available.
- How can I trigger actions for specific clip tags?
- Use Filters by Zapier to process only clips with tags like “promo,” “webinar,” or “public.”
- Can I use webhooks if Vidulk isn’t natively supported in Zapier?
- Yes. Add a webhook endpoint in Vidulk settings and use the “Catch Hook” trigger in Zapier to receive payloads.
- How do I troubleshoot a Zap that’s not firing?
- Verify your webhook URL in Vidulk, check Zap history for errors, and test with a dummy clip to confirm payload receipt.
- What are some best practices for managing multiple Zaps?
- Name Zaps clearly, monitor task usage, archive inactive workflows, and document steps for team collaboration.