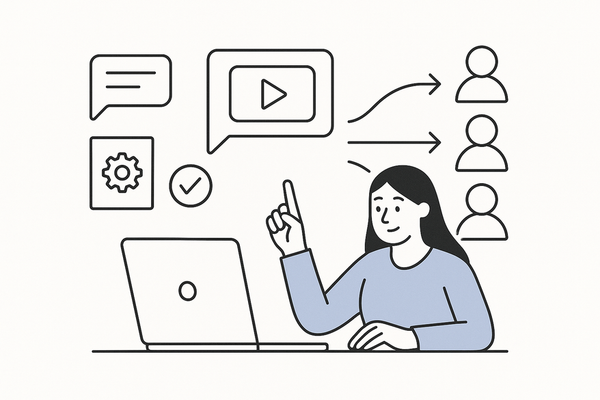
How to Add Background Image to Fake Chat Video: A Step-by-Step Tutorial
Learn how to add a background image to fake chat videos and enhance your content with this step-by-step tutorial. Boost engagement with professional visuals.
Estimated reading time: 6 minutes
Key Takeaways
- Engagement boost: Backgrounds enhance aesthetic appeal and brand consistency.
- Essential tools: Video editors, photo editors, and fake chat templates.
- Four-step process: Prepare image, insert background, overlay chat, finalize export.
- Troubleshooting: Address resolution mismatches, layer order, and color consistency.
- Pro tips: Use templates, blending modes, and AI-generated backdrops.
Table of Contents
- Understanding Fake Chat Videos and Background Role
- Required Tools and Materials
- Step-by-Step Guide
- Troubleshooting and Pro Tips
- Conclusion
- FAQ
Understanding Fake Chat Videos and Background Role
Fake chat videos recreate messaging interfaces with text bubbles, avatars, and timestamps to simulate real conversations. They are widely used for storytelling, product demos, and social media memes.
Common applications:
- Social media skits—engage followers with quick dialogue scenes. For inspiration, explore texting story ideas.
- App feature demos—highlight in-app messaging flows.
- Entertainment sketches—role-play scenes for short films.
Why add a background image?
- Visual cohesion: Creates an immersive scene that complements chat bubbles.
- Brand consistency: Use branded settings or color schemes.
- Focus: Maintains viewer attention on dialogue by avoiding distraction.
Required Tools and Materials
Before you begin, gather the necessary tools and assets:
Software:
- Video Editors: CapCut, Adobe Premiere Pro, Final Cut Pro.
- Photo Editors: Photoshop, Canva, GIMP.
- Chat Templates: Use Vidulk’s free templates from the free fake chat video templates guide.
Assets:
- High-resolution background image (1920×1080px for 16:9 or 1080×1920px for 9:16).
- PNG chat elements with alpha channels or clean screenshots.
- Optional props (icons, emojis) for extra flair.
Vidulk Integration
For a streamlined workflow, try Vidulk - Fake Text Message Story App to auto-generate chat videos with custom backgrounds, scripts, and voiceovers in minutes.
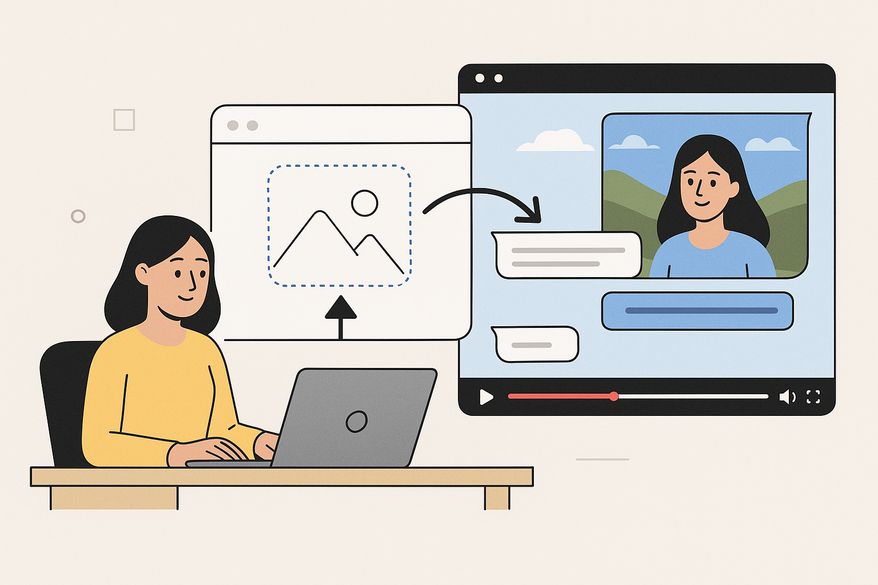
Step-by-Step Guide: How to Add Background Image to Fake Chat Video
Step 1: Preparing Your Background Image
- Choose a backdrop that matches your theme (e.g., office for demos, playful shapes for memes).
- Open it in Photoshop, Canva, or GIMP and set the canvas to your target aspect ratio (16:9 or 9:16).
- Adjust brightness, contrast, and colors to complement chat bubbles.
- Export as JPEG or PNG at 72–150 dpi, keeping the file under 5 MB.
Step 2: Inserting the Background into Your Video Project
- Create a new sequence matching your resolution.
- Import the prepared image and place it on the bottom layer of the timeline.
- Scale and position or use “Fit to Frame” to fill the screen without black bars (CapCut alignment tips).
Step 3: Overlaying the Fake Chat Elements
- Import PNG chat bubbles or screenshots onto an upper layer.
- Arrange bubbles chronologically and use grid guides or snapping for precise placement.
- Apply layer masks with 2–5 px feathering and set opacity to 90–100% for clear text.
- Experiment with blending modes (Multiply, Overlay) for a natural integration using CapCut texting video maker.
Step 4: Final Adjustments and Exporting
- Check readability; add a semi-transparent overlay if text needs more contrast.
- Lightly color-grade the background (±10% brightness/contrast).
- Export using H.264 codec, MP4 container, at 1080p/30 fps or 720p/60 fps.
- Choose 9:16 for Reels/TikTok or 16:9 for YouTube/Facebook.
- For advanced settings, refer to our export guide.
Troubleshooting and Pro Tips
Common Issues:
- Resolution mismatch causing pixelation.
- Incorrect layer order hiding chat bubbles.
- Lighting or color temperature inconsistencies.
- Overuse of effects distracting from text.
Pro Tips:
- Use editor presets or templates to speed up the process.
- Create custom backgrounds in Canva and export as PNG.
- Mask chat screenshots shot on solid backgrounds for cleaner overlays.
- Leverage AI tools like Adobe Firefly to generate unique backdrops.
FAQ
- What’s the best image format for backgrounds?
PNG and JPEG at 72–150 dpi both work well; PNG preserves transparency if needed. - How do I avoid black bars on different platforms?
Match your sequence aspect ratio to the final output (16:9 for YouTube or 9:16 for mobile). - Can I edit chat templates directly in video editors?
Yes—most editors support PNG overlays with alpha channels; mask and feather edges for smooth integration. - Which blending mode is best?
Multiply and Overlay are popular for integrating text bubbles with textured backgrounds.