How to Set User Roles in Vidulk: A Complete Step-by-Step Guide
Learn how to set user roles in Vidulk with our step-by-step guide to enhance security, control permissions, and boost team efficiency.

Estimated reading time: 5 minutes
Key Takeaways
- Role-based security: Assign only the permissions each team member needs.
- Step-by-step process: Log in as admin, navigate to users, assign roles, save, and verify.
- Best practices: Follow the least-privilege principle and conduct periodic reviews.
- Common pitfalls: Avoid granting broad access by default and always confirm updates.
Table of Contents
- Overview of Vidulk
- Understanding User Roles in Vidulk
- Step-by-Step Guide: How to Set User Roles in Vidulk
- Troubleshooting Tips
- Best Practices for Managing User Roles
- Common Mistakes and How to Avoid Them
- Conclusion
- Call to Action
Overview of Vidulk
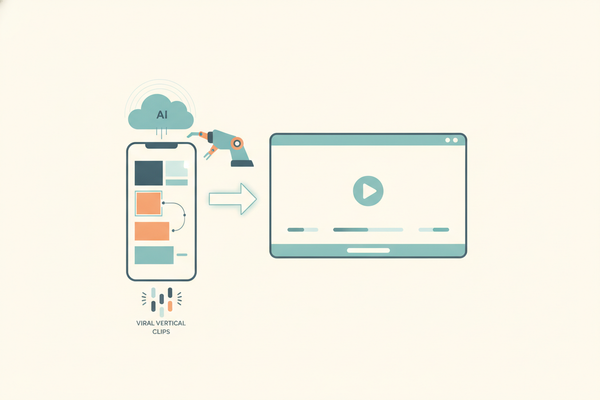
Vidulk is an AI-powered clip generator and video clipping tool for creating mobile-friendly short videos. It transforms long video files into ready-to-share snippets in minutes, making it ideal for:
- Social media marketing clips
- E-learning video snippets
- Internal training highlights
To set user roles in Vidulk, you'll find controls under Account or Organization Settings, alongside billing, integrations, and other security tools.
Understanding User Roles in Vidulk
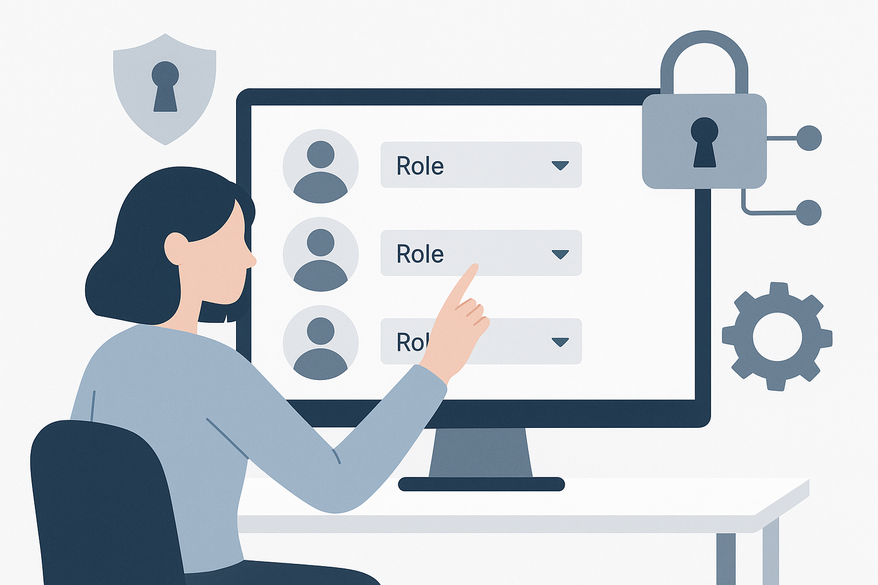
User roles in Vidulk follow a role-based access control (RBAC) model. Each profile determines what a person can see and do within the app. Common templates include:
- Admin – Full access to settings, users, and all content
- Editor – Can create and modify content but cannot change user roles
- Viewer – Read-only access to view content and reports
Why roles matter:
- Improves team efficiency by providing only necessary permissions
- Enhances data security by limiting high-risk actions
Step-by-Step Guide: How to Set User Roles in Vidulk
Pre-note: Interface labels may vary; adapt these steps to your Vidulk version.
- Log in as an administrator
Sign in with an account that has administrator-level permissions. - Navigate to User Management or Roles area
Click Settings > Organization > Users or Role Management. - View existing users and roles
On the users page, you’ll see a list of current accounts and their assigned roles. - Select or add a user
Choose a user to edit or click “Add User” to invite someone new. - Assign or change the role
Open the Role dropdown and select Admin, Editor, or Viewer (or your custom role). - Save and confirm
Click Save. Verify the updated role appears in the user list. - Test the permissions
Optionally, log in as that user or use a preview mode to confirm the permission set behaves as expected.

Troubleshooting Tips
- If role changes don’t save, ensure you’re using an admin account.
- Refresh your browser or test in incognito if permissions seem stale.
- Check if you need to create the role first under a separate “Roles” tab.
- Verify the user isn’t in multiple groups with conflicting permissions.
Best Practices for Managing User Roles
- Follow the least-privilege principle: assign only necessary permissions.
- Conduct periodic role reviews as team structures evolve.
- Maintain an audit log of who has admin access and why.
- Test permission changes on a non-critical user before applying broadly.
- Deactivate or remove accounts and roles no longer in use.
Key benefits of these best practices:
- Reduces risk of data exposure
- Keeps workflows smooth as teams change
- Provides clear records for audits
For a deeper dive into permission settings and guardrails, and to explore collaborative workflows alongside role management, check out our detailed guides.
Common Mistakes and How to Avoid Them
- Mistake: Granting overly broad access by default
Solution: Start restrictive and add permissions as needed. - Mistake: Forgetting to click Save
Solution: Always confirm role updates before moving on. - Mistake: Skipping permission testing
Solution: Validate via a test account to ensure correct access. - Mistake: Confusing role creation with assignment
Solution: Create roles in the Roles tab before assigning them. - Mistake: Using a non-admin account
Solution: Verify your account’s privilege level before making changes.
Conclusion
Correctly setting user roles in Vidulk streamlines workflows, minimizes risks, and maintains a secure environment. Use this template to match Vidulk’s interface and your team’s needs. For the latest updates, refer to Vidulk’s in-app help or the official site.
Call to Action
Share your experience setting user roles in Vidulk or ask questions below.
Subscribe for more Vidulk tips, workflow guides, and tech best practices.
FAQ
- How can I create a custom role in Vidulk?
Go to the “Roles” tab under Settings, click “Create Role,” and define the permissions you need. - What happens if a user has multiple roles?
Vidulk applies the highest level of permissions when roles overlap. - How often should I review user roles?
Conduct a review at least quarterly or whenever team structures change.
La elección de una camiseta deportiva suele depender del ajuste, el tejido y las preferencias personales de cada aficionado. Una referencia como camisetas para aficionados de Cristiano Ronaldo puede servir para revisar opciones generales sin depender de una sola característica. Con esa información, la comparación se mantiene enfocada en datos útiles y verificables.