Mastering Vidulk Clip Permissions Settings: A Comprehensive Guide
Learn how to configure and manage Vidulk clip permissions settings to secure your AI-generated video clips. Prevent unauthorized access and protect your assets.
Estimated reading time: 6 minutes
Key Takeaways
- Understanding and managing Vidulk clip permissions is vital for security and collaboration.
- Role-based access controls ensure only authorized users can view, edit, or share clips.
- Secure API key management and privacy settings prevent unauthorized access.
- Best practices include regular audits, rate-limit handling, and default private settings.
- Advanced strategies leverage API integrations for automation and scalability.
Table of Contents
- Introduction
- Understanding Vidulk Clips
- What Are Permissions Settings?
- How to Configure Vidulk Clip Permissions Settings
- Best Practices for Managing Permissions
- Advanced Permissions Strategies
- Conclusion
Introduction
Vidulk clip permissions settings control access to AI-generated video clips created from long-form footage, ensuring only authorized users can view, edit, or share them. Proper permissions are critical for security, preventing unauthorized access, and keeping project assets organized. Without clear access controls, sensitive clips may leak or teams might overwrite each other’s work.
In this guide, you will learn step by step how to configure and manage Vidulk clip permissions settings. We cover account setup, role-based access, sharing options, best practices, and advanced workflows. By the end, you’ll know exactly how to protect your AI-generated highlights and keep your projects running smoothly.

Understanding Vidulk Clips
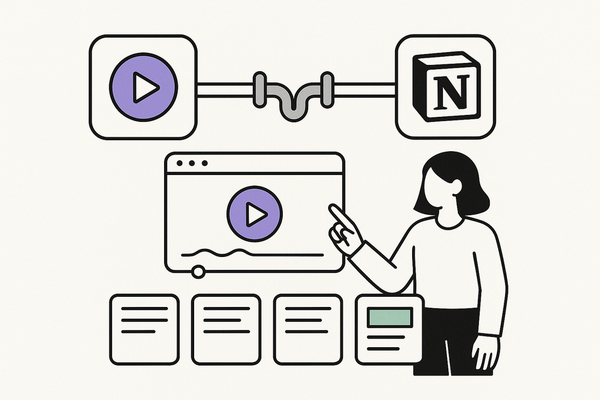
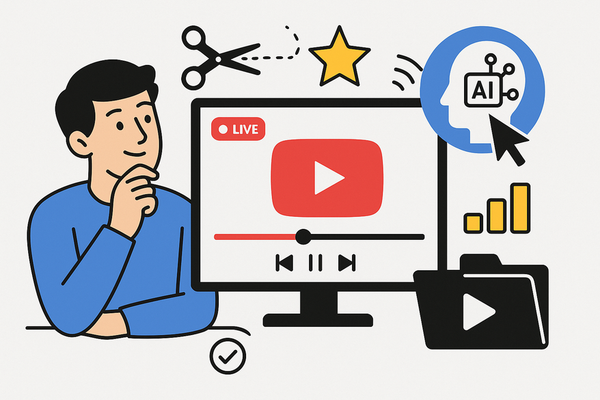
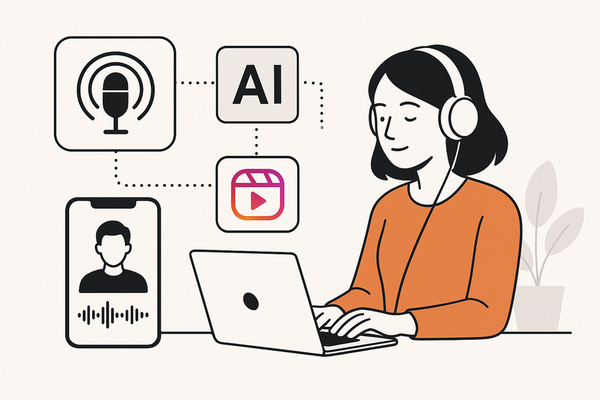
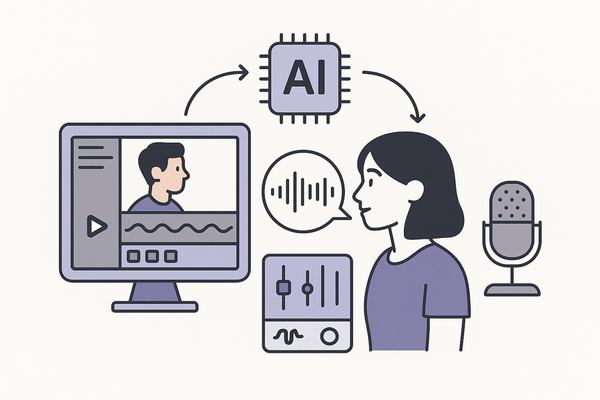
Vidulk clips are AI-detected highlights pulled from long videos or audio files like podcasts, lectures, or interviews. These bite-sized clips are optimized for social platforms—TikTok, Instagram Reels, YouTube Shorts—saving time and increasing engagement. For more, see How Vidulk Works.
Key features of Vidulk clips:
- Automated AI detection of key moments
- Generation of clip URLs, IDs, and thumbnails
- Export to MP4 or embed via HTML tags
Common use cases:
- Content creators automating viral clip generation
- Educators sharing lecture snippets
- Marketers producing social media hooks from webinars
Why permissions matter:
- Multi-user collaboration: Teams can work on the same project without conflicts.
- IP protection: Secure your brand’s content and avoid leaks.
- Copyright compliance: Prevent unauthorized sharing of licensed media.
What Are Permissions Settings?
Permissions settings in media management define who can do what with your clips. They cover user roles, access levels, and controls.
Core components:
- User roles: viewer, editor, admin
- Access levels: view only, edit, share
- Controls: download allowed, embed restrictions
In Vidulk, these settings govern:
- Who can create or modify clips
- Who can share or embed AI-generated highlights
- How project privacy defaults keep content safe
Platform limits to note:
- Free tier: up to 5 projects, 100 clips per day
- API keys must be stored securely to avoid exposure
- Rate limits can trigger HTTP 429 errors if exceeded
Common pitfalls:
- Exposed API keys leading to unauthorized use
- Ignored rate limits causing service interruptions
- Improper sharing that risks copyright breaches
How to Configure Vidulk Clip Permissions Settings
Follow these steps to set up and lock down your Vidulk clips. Each step uses role-based access, secure sharing, and API best practices.
Step 1: Account & API Setup
- Sign up at Vidulk.com and log in.
- Go to Settings > API. Obtain your OpenAI and ElevenLabs API keys.
- Store keys in a secure secrets manager (e.g., AWS Secrets Manager).
For detailed API integration steps, see our Vidulk API Clip Integration Tutorial.
Step 2: Create or Upload Clips
- Use
POST /api/clip/uploadwith yourproject_id. - Capture the
clip_id, URL, and thumbnail from the JSON response. - In project settings, toggle privacy to “private” or “public” as needed.
Step 3: Assign Role-Based Access
- Admin role: full control over viewing, editing, sharing.
- User role: limited to view or edit only.
- Integrate with AWS S3 or a CDN for custom hosted-clip permissions.
Step 4: Customize Sharing Options
- Embed clips in web pages using
<video>tags. - Use environment variables for API keys in your code.
- Toggle export privacy before MP4 download: set to private for internal use or public for wider sharing.
Step 5: API Authentication & Job Polling
- Initialize with
POST /api/setup. - Poll job statuses with
GET /api/job/{job_id}to enforce permissions during batch tasks.
To view the full developer workflow, check How to Use Vidulk API.
Best Practices for Managing Permissions
To maintain security and efficiency, adopt these best practices for Vidulk clip permissions settings.
Regular Reviews
- Conduct quarterly audits of project members and clip usage.
- Check free-tier clip counts; upgrade to a paid plan before hitting limits.
Troubleshooting Tips
- Rate limits: implement exponential back-off retries on 429 errors.
- Preview lag: lower AI-enhancement slider settings or enable GPU acceleration.
- Copyright risks: maintain an asset log and use royalty-free clips.
Security Balance
- Host clips on a CDN with fine-grained access controls.
- Default all new clips to private until explicitly shared.
- Use role-based logins to grant team members only the access they need.
Advanced Permissions Strategies
Take your Vidulk clip permissions settings to the next level with these advanced tactics.
API Integration Workflows
- Connect Vidulk API to Zapier or Make.com to automate role hierarchies.
- Create triggers that promote or demote users based on approval workflows.
Embedding in Larger Systems
- Build Node.js or Python scripts to fetch clip metadata and assemble WeVideo-style galleries.
- Implement playlist privacy settings and multi-clip sharing interfaces.
Case Study Example
A marketing team uses S3 hosting for off-campus clips:
- Admins define import/export buckets with IAM policies.
- Batch uploads and job status polls run securely via API.
- Team members get view-only links until clip approval.
These strategies let you scale permissions as your platform grows, keeping access tight and automated.
These controls highlight why Vidulk streamlines secure collaboration for creators—learn more at Vidulk - AI Video Clipping App.
Conclusion
Vidulk clip permissions settings are your first defense for secure and efficient AI video workflows. By enforcing role-based access, protecting API keys, and setting privacy controls, you safeguard your clips and keep your team in sync.
Remember to review your settings regularly, troubleshoot issues quickly, and scale with advanced integrations as needed. Share your experiences or questions in the comments, and visit Vidulk’s blog for more API tutorials and tools.
Keep your clips safe, your process organized, and your audience engaged.
FAQ
- How do I change a clip’s privacy setting? Navigate to the project settings and toggle privacy to “private” or “public.”
- What user roles are available? Vidulk offers viewer, editor, and admin roles, each with escalating permissions.
- How many clips can I generate on the free tier? The free tier supports up to 5 projects and 100 clips per day.
- How can I secure my API keys? Store them in a secrets manager like AWS Secrets Manager and never hard-code them.
- Can I automate permissions changes? Yes, integrate Vidulk API with Zapier or Make.com to automate role hierarchies and approval workflows.