Vidulk API Clip Integration Tutorial: A Step-by-Step Guide
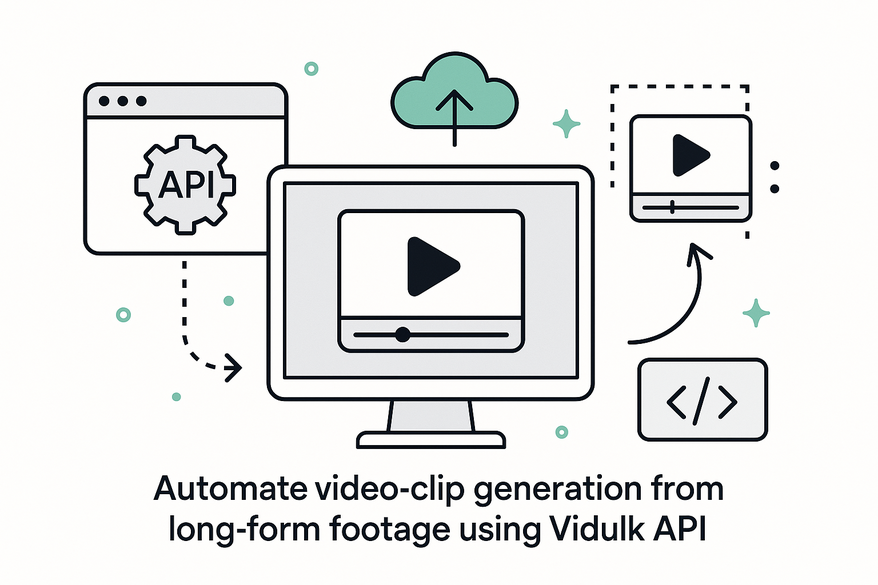
Learn how to automate video clip generation from long-form footage using the Vidulk API. This step-by-step guide covers API setup, video upload, AI clip detection, and embedding.
Estimated reading time: 6 minutes
Key Takeaways
- Automated Workflow: AI-driven highlight detection, batch clipping, frame extraction, and on-device enhancements.
- Simple HTTP Integration: Authenticate, upload, generate clips, poll status, and retrieve outputs via REST endpoints.
- Flexible Tooling: Use curl, Postman, Axios, Python’s requests or no-code platforms like Zapier and Make.com.
- Robust Error Handling: Implement retries, exponential back-off, and workspace validation to avoid quota and rate-limit issues.
- Scalable Use-Cases: Ideal for podcasters, social agencies, chat-story templates, and automated social media posting.
Table of Contents
- Introduction
- Overview of API Integration
- Prerequisites and Setup
- Step-by-Step Integration
- Troubleshooting & Best Practices
- Advanced Tips & Use-Cases
- Conclusion
- FAQ
Introduction
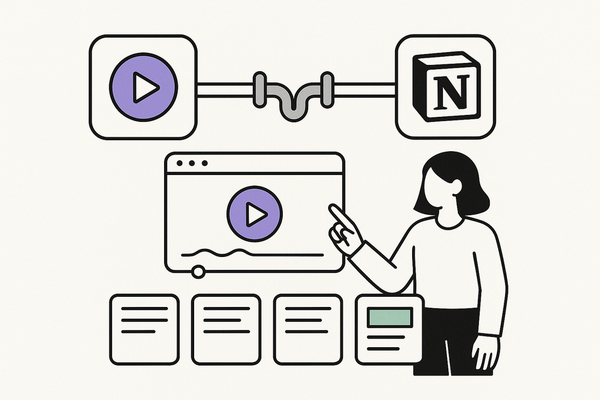
In this tutorial, you’ll learn how to automate video clip generation from long-form footage using Vidulk’s AI-powered platform. Vidulk API is an AI-driven video processing service that enables automated highlight detection, batch clipping, and on-device enhancements to streamline content creation. For complete endpoint details, see complete endpoint details, and for a developer-focused walkthrough, refer to developer-focused walkthrough.
Overview of API Integration
API integration means connecting your application to Vidulk’s HTTP endpoints. You send POST requests to upload videos and GET requests to check processing status. Beginners can use tools like curl or Postman. Advanced users can build pipelines with HTTP libraries such as Axios or Python’s requests.
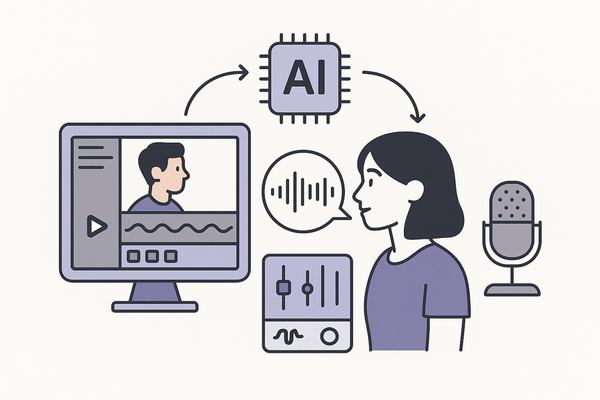
- Automatic highlight detection – AI scans for audio peaks, scene changes, and sentiment shifts.
- Batch processing – handle dozens of files in one job.
- Frame extraction – generate thumbnails and GIF previews.
- On-device enhancements – local upscaling and noise reduction for privacy and speed.
These features save hours of manual editing and maintain high video quality.
Prerequisites and Setup
System Requirements:
- A modern browser (Chrome, Firefox) or a Node.js environment.
- Ability to upload files via multipart/form-data or external URLs (YouTube, Dropbox).
- Minimum 4 GB RAM and dual-core CPU recommended for local AI upscaling.
Obtaining API Access:
- Sign up on Vidulk.com (free tier available with rate limits).
- In your user Settings > API, copy your OpenAI key and ElevenLabs key for script generation or voice synthesis.
- Free-tier limits include 5 projects and 100 clips/day. Upgrade for unlimited batch jobs and priority support.
Development Environment Setup:
- Install an HTTP client: curl or Postman for quick testing.
- Or install language libraries:
- JavaScript: axios (
npm install axios) - Python: requests (
pip install requests)
- JavaScript: axios (
- Test authentication with a sample curl command:
curl -X POST https://api.vidulk.com/api/setup \
  -H "Content-Type: application/json" \
  -d '{"openai_key":"YOUR_OPENAI_KEY","elevenlabs_key":"YOUR_ELEVENLABS_KEY"}'
Step-by-Step Integration
Step 1 – Authenticate and Initialize
Endpoint: POST /api/setup
{
  "openai_key": "YOUR_OPENAI_KEY",
  "elevenlabs_key": "YOUR_ELEVENLABS_KEY"
}
Provide API keys to authorize all subsequent requests. Keys connect Vidulk to external AI services (OpenAI for scripts, ElevenLabs for voice).
Step 2 – Upload Video
Endpoint: POST /api/clip/upload
{
  "video_url": "https://youtube.com/watch?v=example",
  "project_id": "your_project_id"
}
Options:
- Use
video_filefield for binary uploads. - Supports external URLs (YouTube, Dropbox).
What happens: Vidulk stores the source, extracts metadata (duration, resolution), and readies it for AI analysis.
Step 3 – Trigger AI Clip Detection
Endpoint: POST /api/clip/generate
{
  "input": "upload_id",
  "options": {
    "batch": true,
    "detect_highlights": true,
    "extract_frames": true
  }
}batch:truefor multiple files per job.detect_highlights: triggers audio/visual AI to find engaging segments.extract_frames: outputs keyframes for thumbnails or preview GIFs.
Expected result: Vidulk scans for energy peaks, sentiment shifts, scene cuts, and returns 5–10 clip suggestions for a 30-minute video.
Step 4 – Monitor and Retrieve Clips
Endpoint: GET /api/clip/status/{job_id}
Polling strategy:
- Check every 5 seconds.
- Use exponential back-off on
202 Acceptedstatus to avoid rate limits.
Sample response:
{
  "job_id": "abc123",
  "status": "completed",
  "clips": [
    {
      "clip_id": "clip1",
      "url": "https://cdn.vidulk.com/clip1.mp4",
      "thumbnail": "https://cdn.vidulk.com/thumb1.jpg",
      "start_time": 120,
      "end_time": 130
    }
  ]
}
Step 5 – Embed/Display Clips
HTML snippet example:
<video controls width="640" height="360" src="https://cdn.vidulk.com/clip1.mp4"></video>- Add
logo_overlaymetadata for branding. - Set
duration_limitin generate options for shorter clips. - Social media auto-posting: integrate with TikTok/Instagram APIs for direct publishing.
Troubleshooting & Best Practices
Common Pitfalls:
- 401 Unauthorized – missing or mismatched API keys.
- 429 Too Many Requests – free-tier rate limits exceeded.
- Storage quota errors – batch jobs may fill default storage unexpectedly.
Solutions & Debug Tips:
- Implement retry with exponential back-off when you hit
429errors. - Validate your workspace by examining Media ID prefixes in responses.
- Test your workflow on small sample videos (30 seconds to 2 minutes) before large batches.
- Inspect raw response bodies when jobs fail; error messages include codes for invalid parameters.
Best Practices:
- Start with batches of 2–5 videos to tune performance.
- Adjust AI upscaling slider (0–100%) based on video resolution needs.
- Use a CDN or cloud storage (e.g., AWS S3) for hosting final clips.
- Secure your API keys by storing them in environment variables or secret managers.
Advanced Tips & Use-Cases
- Programmatic batch loops: write scripts that loop through directories, call
/uploadand/generate, then store results automatically. - Chat-story templates: define avatars, multi-participant dialogues, and FX channels for engaging short stories.
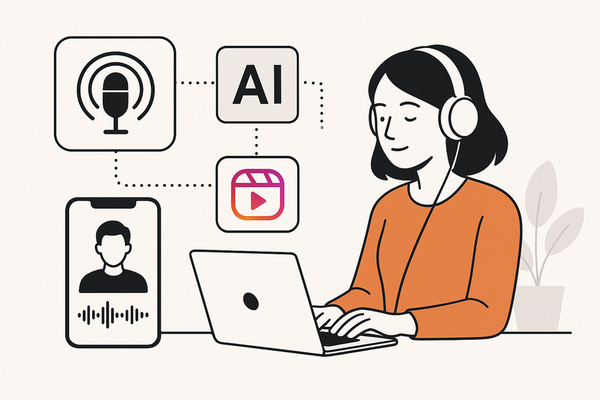
- Podcasters: auto-generate 5–10 social media shorts with captions and background music from a 60-minute episode.
- Social agencies: batch process client footage, auto-post Reels or TikToks via platform APIs.
- Connect with Google Gemini or OpenAI for automated timestamp generation and chapter summaries.
- Use no-code tools such as Make.com or Zapier to chain Vidulk API calls with cloud storage, email alerts, or social media publishing.
Conclusion
You’ve now covered every step to integrate Vidulk API: authenticate credentials, upload videos, trigger AI-driven highlight detection, poll for status, and embed clips. This integration unlocks scalable, automated video clipping that saves hours of manual work and ensures consistent output quality. For more in-depth examples and reference code, visit:
For creators looking for a more visual workflow, the Vidulk - AI Video Clipping App offers an intuitive on-device experience complementing the API integration.
FAQ
- What is Vidulk API?
Vidulk API is an AI-driven video processing service for automated clip generation, highlight detection, and on-device enhancements. - Which tools can I use?
You can use curl, Postman, Axios, Python requests, or no-code platforms like Zapier and Make.com. - How do I handle rate limits?
Implement retries with exponential back-off and monitor response codes to avoid429errors. - What file types are supported?
You can upload via multipart/form-data or reference external URLs (YouTube, Dropbox). Vidulk accepts common video formats like MP4 and MOV. - Where can I find detailed docs?
Check out the complete endpoint details and the developer-focused walkthrough.