Complete Guide to OBS Vidulk Integration for Enhanced Streaming & Recording
Learn how to master OBS Vidulk integration for seamless streaming and recording. Optimize your workflow and troubleshoot with this comprehensive guide.

Estimated reading time: 10 minutes
Key Takeaways
- Seamless Workflow: OBS Vidulk integration merges Vidulk’s smart routing with OBS Studio’s mixing and encoding for professional-quality streams.
- Automated Controls: Streamline scene switches, guest management, and playlist handling without manual intervention.
- Flexible Outputs: Choose virtual camera, NDI, RTMP/RTMPS, or browser source modes to fit any broadcast or recording scenario.
- Scalability: Easily add sources or remote guests via Vidulk without rebuilding OBS scenes from scratch.
- High Production Value: Offload routing tasks to Vidulk to reduce OBS CPU load and focus on creative overlays and transitions.
Table of Contents
- 1. Introduction to OBS Vidulk Integration
- 2. Background Overview: Live Streaming & Recording Workflows
- 3. Detailed Explanation of OBS Vidulk Integration
- 4. Setting Up OBS Vidulk Integration
- 5. Benefits and Advantages of OBS Vidulk Integration
- 6. Use Cases & Practical Applications of OBS Vidulk Integration
- 7. Troubleshooting Common Pitfalls
- 8. Conclusion: OBS Vidulk Integration Recap
- 9. Call to Action: OBS Vidulk Integration
1. Introduction to OBS Vidulk Integration
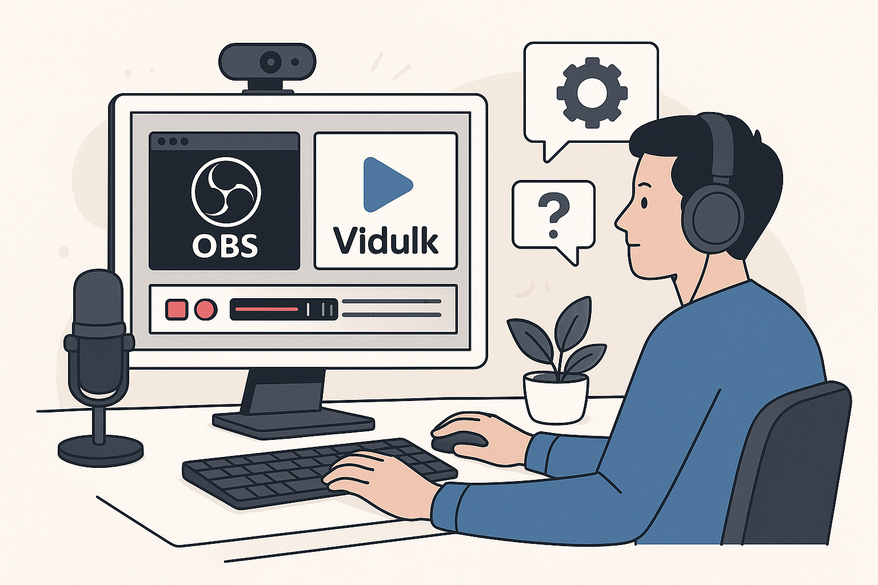
“OBS Vidulk integration” means combining OBS Studio with Vidulk to build a more flexible, automated streaming and recording setup. This process boosts production value, simplifies workflows, and adds smart routing or automation. Mastering OBS Vidulk integration matters for streamers, educators, and content creators who need smooth scene changes, guest management, and pro-style outputs. In this guide, you’ll get a step-by-step setup, learn benefits, and discover troubleshooting tips for OBS Vidulk integration.
For those unfamiliar with Vidulk, it’s a versatile tool for automatically detecting and streaming key moments directly into OBS. Get started quickly with Vidulk by visiting Vidulk - AI Video Clipping App.
2. Background Overview: Live Streaming & Recording Workflows
2.1 What is OBS Studio?
- OBS Studio (Open Broadcaster Software) is a free, open-source tool for live streaming and local recording.
- It runs on Windows, macOS, and Linux.
- Key uses:
- Streaming to YouTube, Twitch, Facebook, custom RTMP.
- Recording gameplay, tutorials, webinars.
- Composing multiple sources (webcam, screen, images, browser) into scenes.
2.2 What is Vidulk?
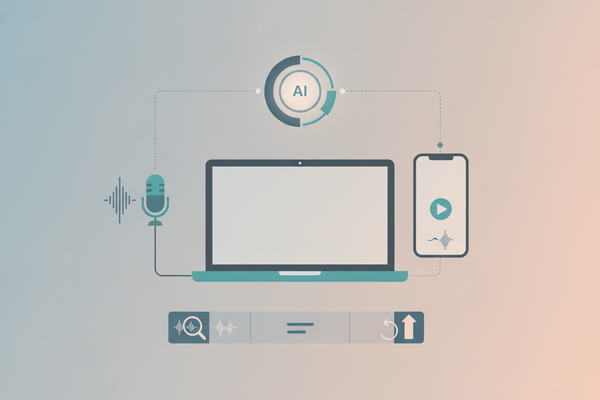
- Vidulk is a complementary video service that acts as a virtual device, network stream, or browser source.
- It automates remote-feed management, advanced routing, and cloud processing.
- Vidulk outputs can be a virtual camera, NDI feed, RTMP stream, or browser URL.
For a step-by-step Vidulk tutorial, see Vidulk tutorial.
2.3 What Does OBS Vidulk Integration Mean?
- OBS ingests Vidulk’s output as a new source.
- Integration unifies video logic in Vidulk with OBS’s mixing and encoding.
- Key integration benefits:
- Centralized video routing and automation.
- Advanced scene changes triggered by Vidulk.
- Simplified streaming/recording workflows.
3. Detailed Explanation of OBS Vidulk Integration
3.1 Step-by-Step Conceptual Flow
- Vidulk prepares content: overlays, remote feeds, or media segments and exposes an output.
- In OBS, add a source (Video Capture Device, Media Source, Browser Source, or NDI) pointed at Vidulk’s output.
- OBS composes scenes: mix Vidulk feed with webcam, game capture, graphics.
- OBS encodes and streams or records; Vidulk continuously feeds new content live.
If you want to extend OBS functionality further, explore our OBS plugin guide.
3.2 Key Features Enabled by OBS Vidulk Integration
- Advanced video routing: map multiple feeds into individual scenes.
- Remote guest aggregation: Vidulk handles guests; OBS sees a single input.
- Automated scene/source switching: triggered by Vidulk logic or events.
- Enhanced playlist/media management beyond OBS’s built-in playlists.
3.3 Common Use Cases for OBS Vidulk Integration
- Live talk shows/podcasts: Vidulk manages guest streams; OBS adds branding.
- Webinars/courses: Vidulk controls slides and pre-recorded clips; OBS records composite output.
- Gaming streams: Vidulk plays replays or ads; OBS overlays alerts and chat.
- Corporate events: Vidulk routes multiple rooms; OBS outputs each track.
4. Setting Up OBS Vidulk Integration
4.1 System Requirements for OBS Vidulk Integration
- OBS Studio: Windows/macOS/Linux, multi-core CPU, GPU acceleration, stable internet.
- Vidulk: meet vendor specs, install required drivers, ensure network connectivity.
For a technical deep-dive into Vidulk’s streaming engine, check this guide.
4.2 Install & Configure OBS for OBS Vidulk Integration
- Download OBS from https://obsproject.com/ and install.
- Run the Auto-Configuration Wizard for streaming or recording defaults.
- Set Global Settings:
- Video resolution & FPS.
- Audio devices for mic and desktop.
- Stream key or RTMP setup.
4.3 Install & Configure Vidulk for OBS Vidulk Integration
- Install Vidulk app or create a service account.
- Add input sources: cameras, remote guests, media clips.
- Enable output mode: virtual camera, NDI, RTMP/RTMPS, or browser source.
4.4 Connect Vidulk to OBS (Two Modes)
A. Video Capture Device Mode
- In OBS Sources → “+” → Video Capture Device → Create New.
- Select “Vidulk Virtual Camera” as device.
- Set resolution/FPS and audio.
- Confirm preview shows Vidulk feed.

B. Network/Stream Source Mode
- OBS Sources → Media Source → Uncheck “Local file” → Paste Vidulk RTMP URL.
- Or add an NDI source via OBS NDI plugin → Select Vidulk NDI feed.
- Configure buffering and reconnection options.
4.5 Configure Scenes & Hotkeys for OBS Vidulk Integration
- Create scenes: “Main Show,” “Gameplay + Vidulk,” “BRB.”
- Add Vidulk source, webcam, overlays, text.
- Set source order, transforms (crop, scale), and audio mix.
- Assign hotkeys for scene switching.
4.6 Test, Record & Go Live with OBS Vidulk Integration
- Check audio levels in OBS Mixer to avoid clipping.
- Do a local test recording; verify audio/video sync and quality.
- Start streaming or recording when ready.
4.7 Common Pitfalls & Troubleshooting Tips for OBS Vidulk Integration
- No video: ensure Vidulk output is enabled and correct device/URL is selected.
- No audio: select the proper audio device; enable “Use custom audio device.”
- Performance issues: lower resolution/FPS; close background apps; offload effects.
5. Benefits and Advantages of OBS Vidulk Integration
- Higher Production Value: combine OBS scenes with Vidulk routing for TV-style broadcasts.
- Streamlined Operations: Vidulk automates complex routing, OBS focuses on mixing.
- Scalability: add sources or guests via Vidulk without rebuilding OBS.
- Flexibility: swap workflows by changing Vidulk outputs to OBS.
6. Use Cases & Practical Applications of OBS Vidulk Integration
- Live Streaming: multi-camera and guest management via Vidulk; OBS overlays and streams.
- Recording Tutorials: Vidulk delivers slides and clips; OBS captures composite.
- Gaming Streams: Vidulk triggers highlight reels and sponsor bumps; OBS adds chat and alerts.
- Workflow Optimization: pre-build complex scenes in Vidulk; expose single source in OBS.
- Performance Boost: offload remote feed handling to Vidulk; reduce OBS CPU load.
7. Troubleshooting Common Pitfalls
- Black screen: reselect Vidulk output; check device conflicts.
- Audio sync issues: use OBS Advanced Audio Properties to add sync offset.
- Echo or double audio: disable “Monitor and Output” on duplicate sources.
- High CPU usage: lower bitrate/resolution; switch to hardware encoder.
8. Conclusion: OBS Vidulk Integration Recap
Integrating OBS Studio with Vidulk merges robust streaming/recording (OBS) with advanced routing and automation (Vidulk). You gain polished production, streamlined workflows, and easy scalability. Follow the steps—install both tools, connect Vidulk as a source, configure scenes, and test—to create a reliable, flexible setup.
9. Call to Action: OBS Vidulk Integration
Share your OBS Vidulk integration experiences and tips in the comments. Subscribe for future posts on multi-PC setups, remote guests, and automation hooks. Download or trial Vidulk and OBS today to elevate your streaming and recording workflow.
FAQ
- Minimum PC specs?
- Modern multi-core CPU + GPU recommended for 1080p60 streaming and recording.
- Can I keep existing OBS overlays and alerts?
- Yes—Vidulk acts as an extra source and doesn’t replace your current OBS setup.
- Does Vidulk replace capture cards?
- Only if you choose; it complements existing devices and can serve as a virtual camera.
- How can I test without going live?
- Use OBS’s Start Recording feature or stream to an unlisted/private key for dry runs.