Vidulk Buffer Integration: Automate Social Content Creation with Ease
Discover how Vidulk Buffer integration automates content creation, turning videos into social posts effortlessly. Optimize your workflow today.

Estimated reading time: 8 minutes
Key Takeaways
- Automate the transformation of long-form videos into dozens of social media clips.
- Leverage Vidulk’s on-device AI for intelligent moment detection and clipping.
- Streamline publishing with Buffer’s centralized scheduling and analytics.
- Maintain a consistent multi-platform presence with minimal effort.
Table of Contents
- Key Takeaways
- Table of Contents
- Section 1: What Is Vidulk Buffer Integration?
- Section 2: Key Features of Vidulk Buffer Integration
- Section 3: Technical Architecture of the Vidulk Buffer Integration Pipeline
- Section 4: Step-by-Step Guide to Implementing Vidulk Buffer Integration
- Section 5: Common Issues & Solutions for Vidulk Buffer Integration
- Section 6: Best Practices and Optimization Tips for Vidulk Buffer Integration
- FAQ
Section 1: What Is Vidulk Buffer Integration?
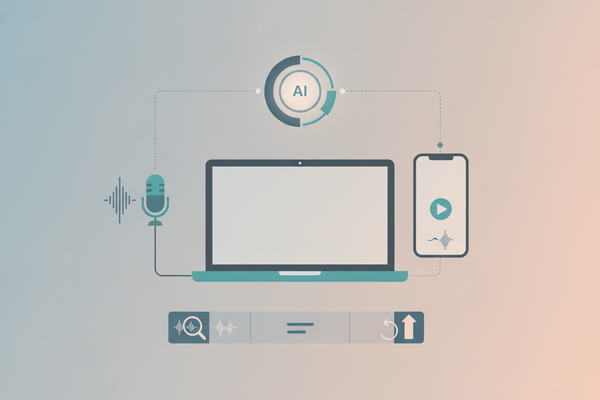
Vidulk Buffer integration brings together Vidulk’s AI-driven video clipping with Buffer’s social scheduling to automate content creation and publishing. It turns every webinar, interview, or lecture into a steady stream of optimized social posts.
Defining Vidulk (AI video clipping)
- Imports from device library or social links (YouTube, TikTok, Instagram)
- AI-driven highlight detection and scoring for high-engagement moments
- Caption and style presets optimized for each social platform
Learn more about automated clipping in this guide. Source: Vidulk.
Defining Buffer (social scheduling)
- Connects X/Twitter, Instagram, Facebook, LinkedIn, and more
- Visual content calendars and post queues
- In-depth analytics dashboard for engagement tracking
Source: Buffer.
Integration Workflow
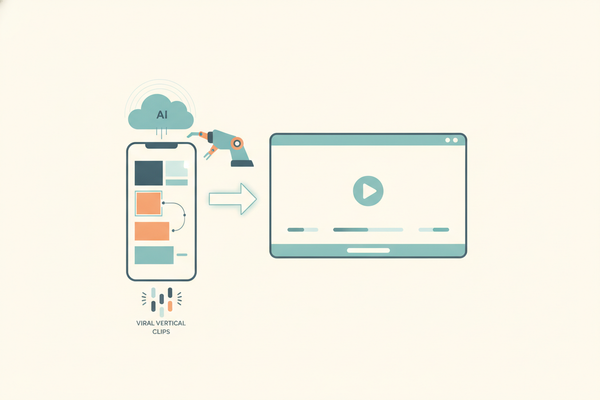
- Long-form video or audio enters Vidulk
- Vidulk’s AI auto-detects and generates clips
- Exported clips go to Buffer
- Buffer schedules and publishes across social channels

By linking Vidulk’s AI video clipping with Buffer’s social scheduling, you build a smooth pipeline for consistent multi-platform posting.
Section 2: Key Features of Vidulk Buffer Integration
Core Features (Vidulk Buffer integration)
- AI clip detection – automatically identifies high-engagement moments
- Batch content creation – generate 10–30+ clips per session
- Centralized scheduling – queue posts across platforms in one interface
- Flexible posting options – add to queue, schedule specific times, or share now
- Analytics & optimization – Buffer analytics reveal top-performing clips
- Consistent multi-platform presence – supports X/Twitter, Instagram Reels, Facebook, LinkedIn, YouTube Shorts
Benefits of Vidulk Buffer Integration
- Reduced editing time – AI handles initial clipping; you only review
- Always-ready content reservoir – turn one long video into weeks of clips
- Improved reach & lifespan – staggered posting keeps content fresh
- Platform-native formats – vertical, short-form clips tailored per network
- Scalable workflow – ideal for solo creators and teams
Section 3: Technical Architecture of the Vidulk Buffer Integration Pipeline
Input Layer
- Source: camera files, Zoom recordings, YouTube links, podcasts
Processing Layer (Vidulk)
- Import into the Vidulk iOS app
- AI analysis & clip scoring
- Review, trim, caption, style, then export
For deeper insights into AI-driven clipping technology, see AI video clipping deep dive.
Distribution Layer (Buffer)
- Upload clips via Buffer web or mobile
- Set captions, hashtags, and links
- Choose queue or schedule options
Feedback Layer
- Buffer analytics inform future clip selection and posting times
Prerequisites & System Requirements for Vidulk Buffer Integration
Vidulk:
- iOS device (App Store: Vidulk on iOS)
- Stable internet and sufficient storage
- Access to source videos (device or cloud)
Buffer:
- Buffer account (free or paid) with connected social profiles
- Verified email and API permissions
- Source: Buffer
Optional Automation Platforms:
- Zapier account for workflows: Zapier + Buffer
- Make account for integrations: Make + Buffer
Section 4: Step-by-Step Guide to Implementing Vidulk Buffer Integration
Step 1: Set Up Buffer and Connect Your Social Channels
- Go to Buffer and sign up or log in.
- Complete or skip onboarding goals.
- In “Channels,” authorize X/Twitter, Instagram, LinkedIn, Facebook.
- Configure posting schedule per channel in “Settings.”
Step 2: Install Vidulk and Import Your Content
- Download Vidulk on iOS: Vidulk on the App Store.
- Open Vidulk; choose import source: device, link, or record.
- Wait for the full upload—larger files take longer.
Step 3: Generate and Review Clips in Vidulk
- Allow AI to detect and score clips by engagement potential.
- Review suggestions; reject or trim clips as needed.
- Add captions and style presets tailored per platform.
- Export finalized clips to your camera roll or cloud storage.
Step 4: Upload Clips to Buffer
- In Buffer’s dashboard, click “Create” or select a channel queue.
- Upload your Vidulk clip file.
- Add caption, hook, context, CTA, and hashtags.
- Select channels; choose “Add to queue,” “Schedule,” or “Share now.”
Step 5: Optional Automation with Make or Zapier
- Make workflow example: New YouTube upload → draft Buffer post → manual clip attach
- Zapier recipe example: RSS feed → Buffer draft → then add Vidulk clip manually
Section 5: Common Issues & Solutions for Vidulk Buffer Integration
- Clip upload failures – check file size, format (MP4/MOV), duration limits.
- Aspect ratio problems – choose 9:16 for Reels/TikTok, 1:1 for Instagram, 16:9 for Shorts.
- Captions not displaying – use high-contrast fonts and safe margins.
- Buffer auth errors – re-authorize the channel under Buffer > Channels.
- Missed posts – verify queue slots and schedule settings.
Support Resources
Section 6: Best Practices and Optimization Tips for Vidulk Buffer Integration
1. Content Mix Strategy (5-3-2 Rule)
- 5 curated posts (others’ content)
- 3 owned posts (Vidulk clips)
- 2 personal or conversational
Source: BlogPros Buffer guide
2. Vary Captions and Hooks
- Use quotes, stats, questions, or contrarian angles
- Test different hooks and track in Buffer analytics
3. Adjust Platform Cadence
- X/Twitter: high repetition with varied captions
- LinkedIn: moderate resharing
- Instagram/Facebook: lower frequency to avoid fatigue
4. Build and Maintain a Clip Library
- Organize folders by topic, platform, and date
- Note performance insights for each clip
5. Analytics Optimization
- Use Buffer analytics to refine clip types and posting times
- Focus on formats and hooks that drive highest engagement
6. Routine Maintenance
- Weekly: check queues and new Vidulk outputs
- Monthly: audit analytics, update hashtags and captions
- Quarterly: revisit overall strategy and platform focus
For a comparison of top repurposing tools, see best AI video repurposing tools.
FAQ
How do I connect Vidulk to Buffer?
First, ensure you have accounts for both Vidulk and Buffer. In Buffer’s dashboard, add Vidulk as a connected app under “Channels.” Authorize all social profiles you plan to post to. Once connected, export clips from Vidulk directly into your Buffer queue.
Can I customize clip styles before scheduling?
Yes! Vidulk offers preset templates and custom options for captions, fonts, and aspect ratios. Review and adjust each clip’s style in the Vidulk app before exporting to Buffer. This ensures each post is optimized for its target platform.
What file formats and sizes are supported?
Buffer accepts MP4 and MOV files up to 2 GB per upload. Vidulk exports in MP4 by default, which is compatible across all major social networks. If you encounter issues, compress large clips or trim duration in Vidulk before exporting.